

Print Settings
Print Settings lets you configure label and document printing behavior for each Facility in your operation. Settings are independent per facility and consist of two sections: Credentials and Equipments.
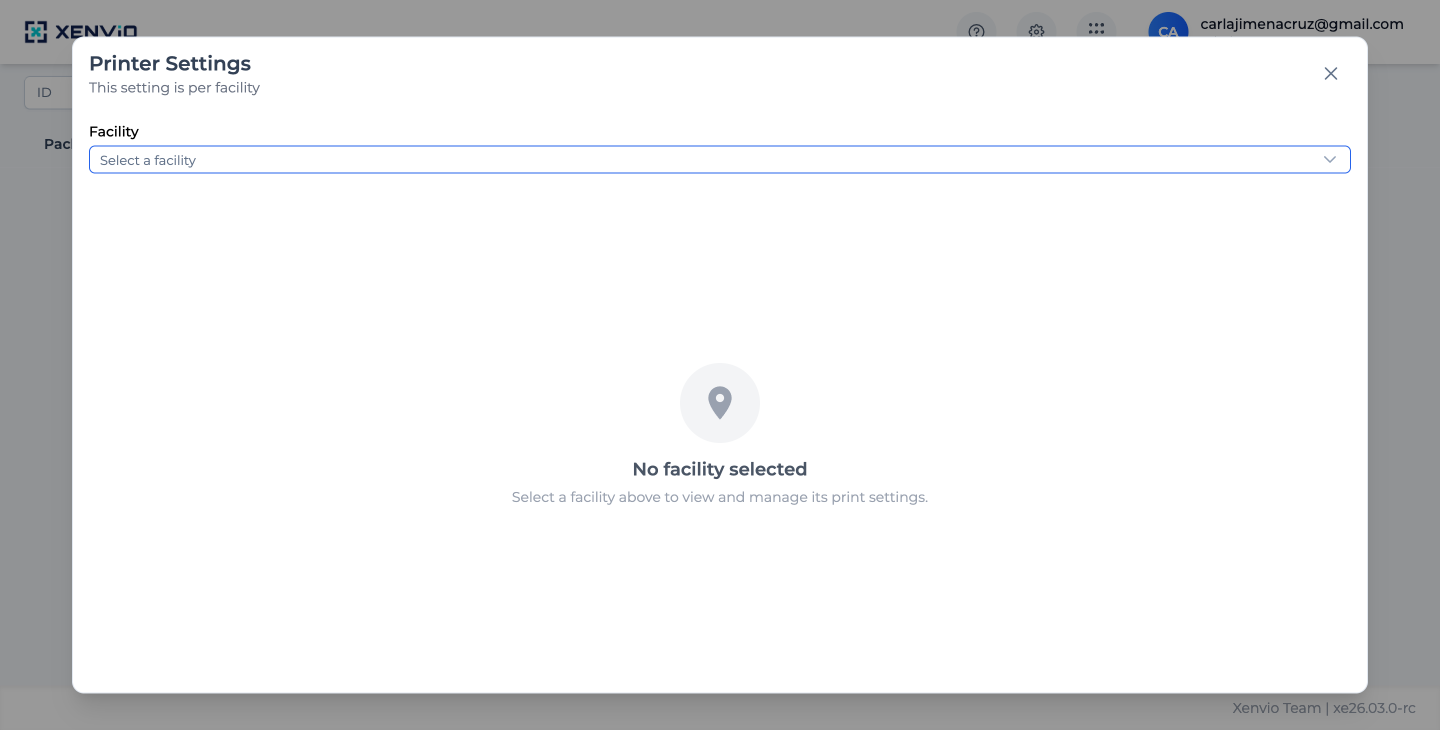
Click the gear icon (⚙) in the top navigation bar. From the dropdown menu select 'Print Settings'. A modal will open with the Facility selector.
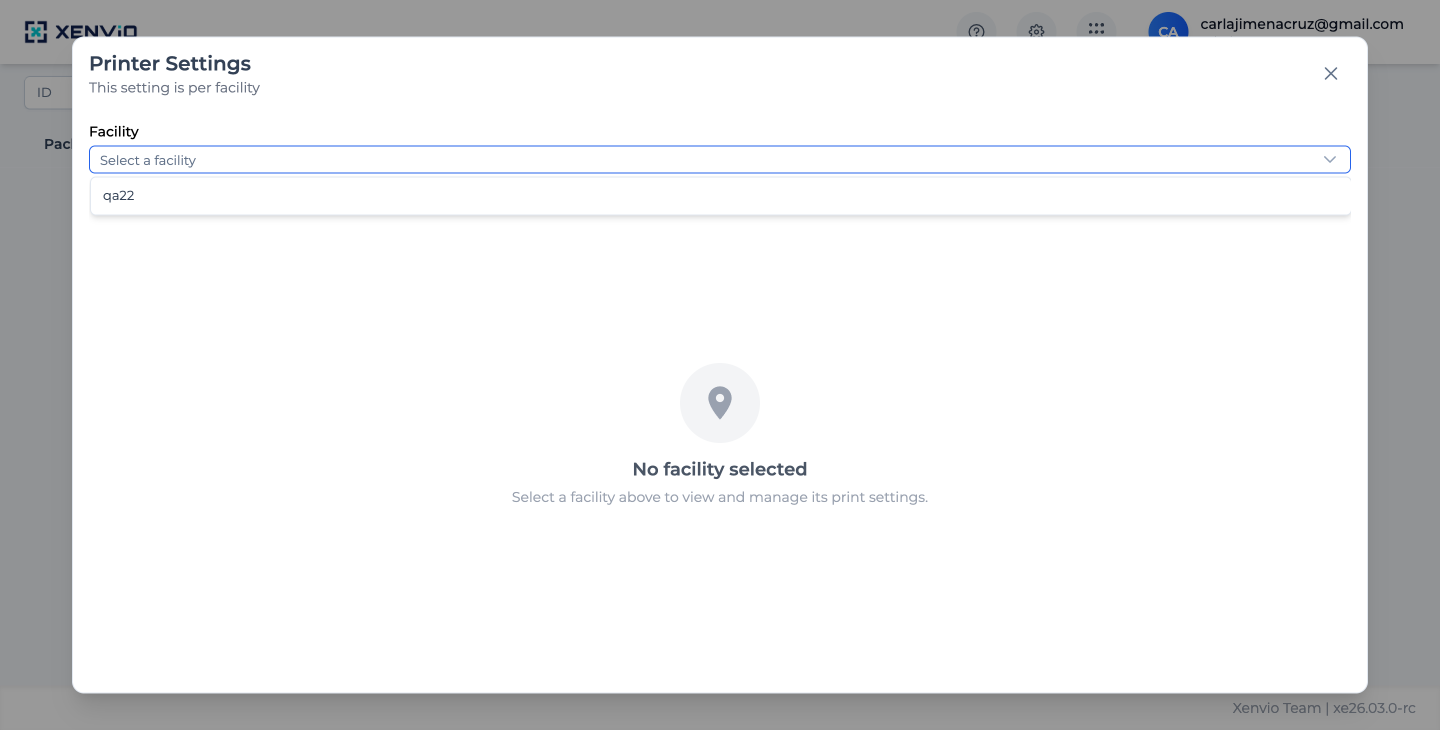
Click the 'Select a facility' dropdown to view available facilities. Select the one you want to configure. Print settings are independent per facility.
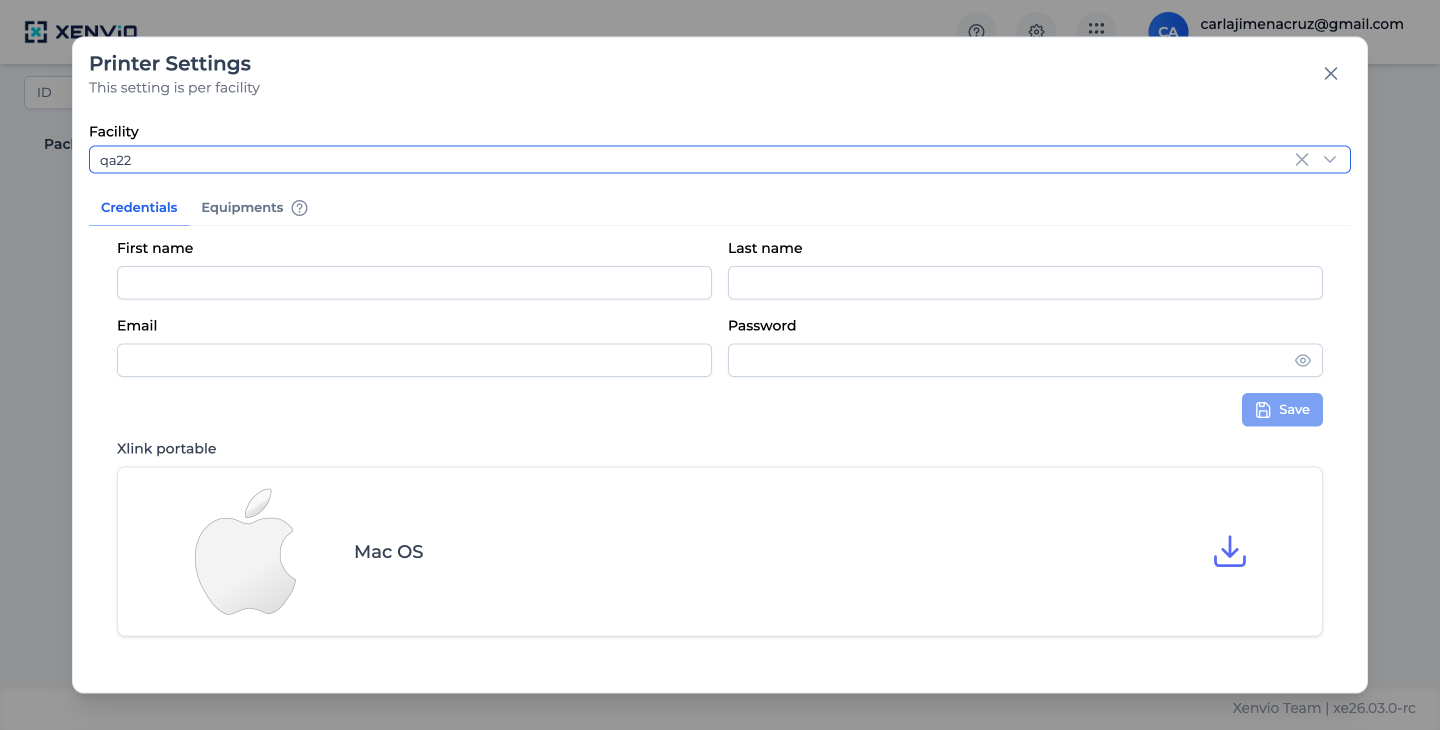
In the 'Credentials' tab enter your Xlink account credentials (First name, Last name, Email, Password) and click 'Save'. Below you'll find the Xlink portable installer for Mac OS.
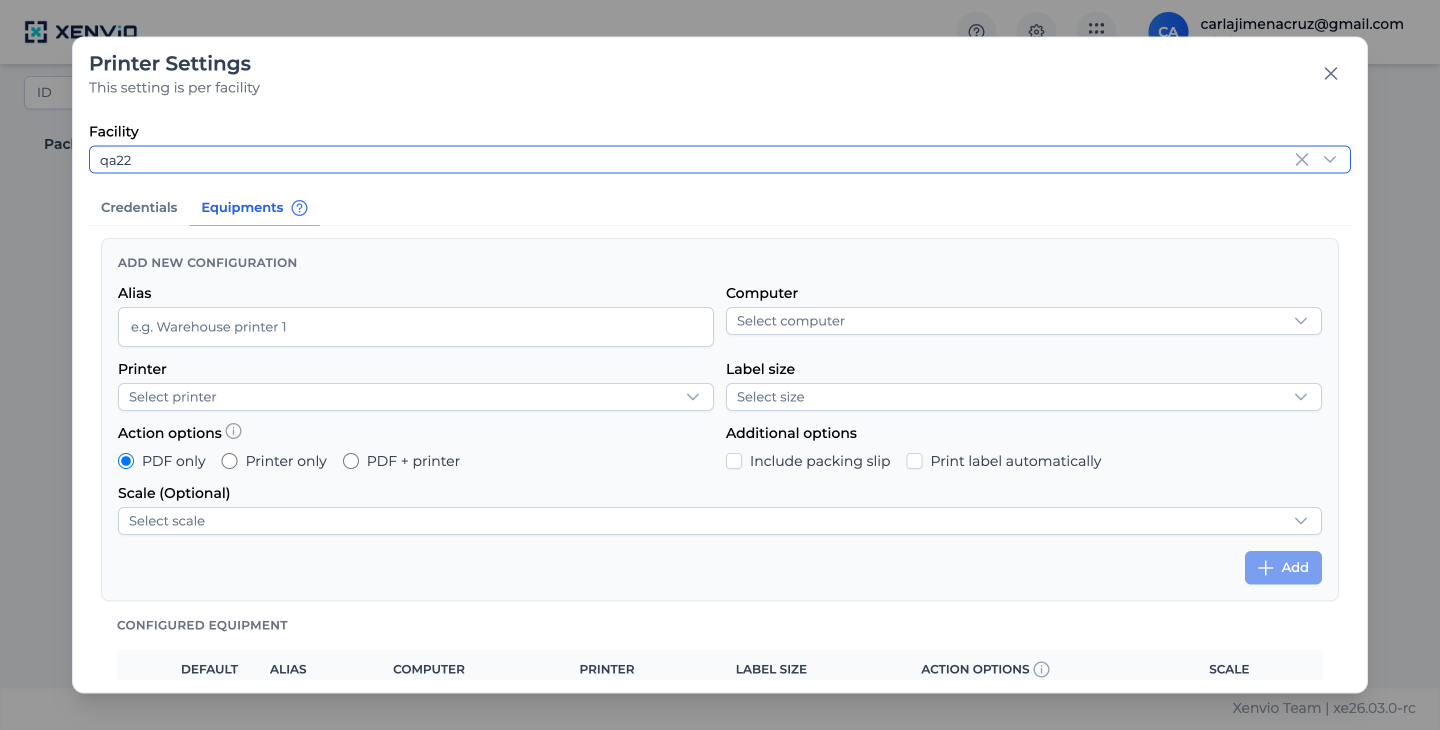
In the 'Equipments' tab fill in the ADD NEW CONFIGURATION form: Alias (equipment name, e.g. 'Warehouse printer 1'), Computer (select the connected machine), Printer (available printer), Label size (4x6, letter, etc.), Action options (PDF only / Printer only / PDF + printer), Additional options (Include packing slip, Print label automatically) and optional Scale. Click '+ Add' to save.
Demo completed!
1. Access Print Settings
Section titled “1. Access Print Settings”Click the ⚙ icon in the top bar and select Print Settings from the menu.
2. Select a Facility
Section titled “2. Select a Facility”The modal requires you to select a Facility (warehouse/dispatch center). The configuration is independent for each one.
3. Credentials Tab
Section titled “3. Credentials Tab”Enter your Xlink Portable account credentials — the bridge software that connects Xenvio with your physical printer:
| Field | Description |
|---|---|
| First name | Operator’s first name |
| Last name | Operator’s last name |
| Xlink account email | |
| Password | Xlink account password |
Click Save to store the credentials. Below you’ll find the Xlink Portable for Mac OS installer (download ↓ button).
4. Equipments Tab
Section titled “4. Equipments Tab”Configure each physical printer as an independent equipment entry:
| Field | Description |
|---|---|
| Alias | Descriptive name (e.g. “Warehouse printer 1”) |
| Computer | Computer where the printer is connected |
| Printer | Printer available on that computer |
| Label size | Label format (4×6, letter, etc.) |
| Action options | PDF only · Printer only · PDF + printer |
| Include packing slip | Prints the packing slip alongside the label |
| Print label automatically | Auto-prints the label on generation without confirmation |
| Scale (Optional) | Scale connected to the system |
Click + Add to save the equipment. Configured equipment appears in the Configured Equipment table with columns: Default, Alias, Computer, Printer, Label Size, Action Options, Scale.