

Create New Order
From Shipper View you can manually create orders in 3 steps: recipient data (Ship to), boxes, and order details. Useful for processing orders outside your app integration or for test shipments.
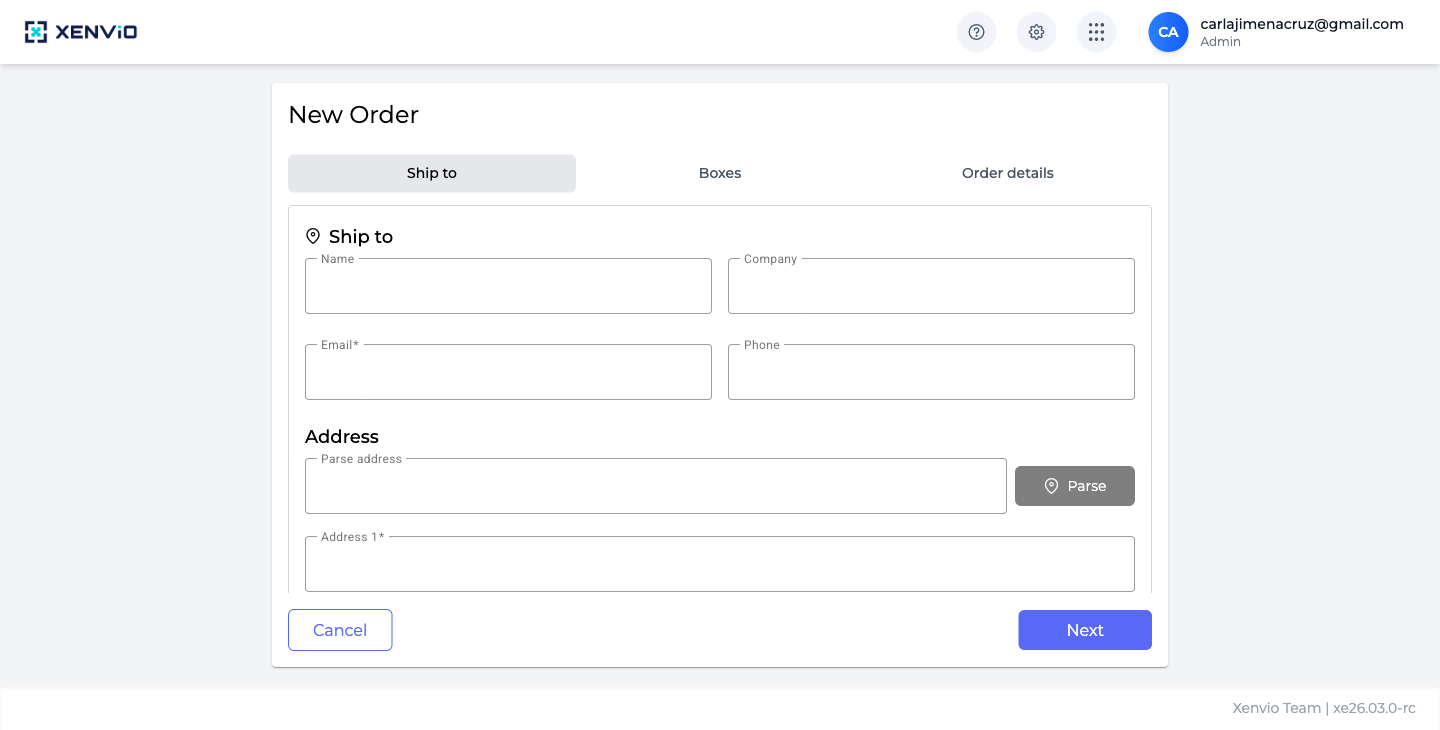
Fill in recipient details: Name, Company, Email* (required), Phone. Then the Address section: use 'Parse address' to paste a full address, or manually complete Address 1*, State*, City*, Country* and Zip*.
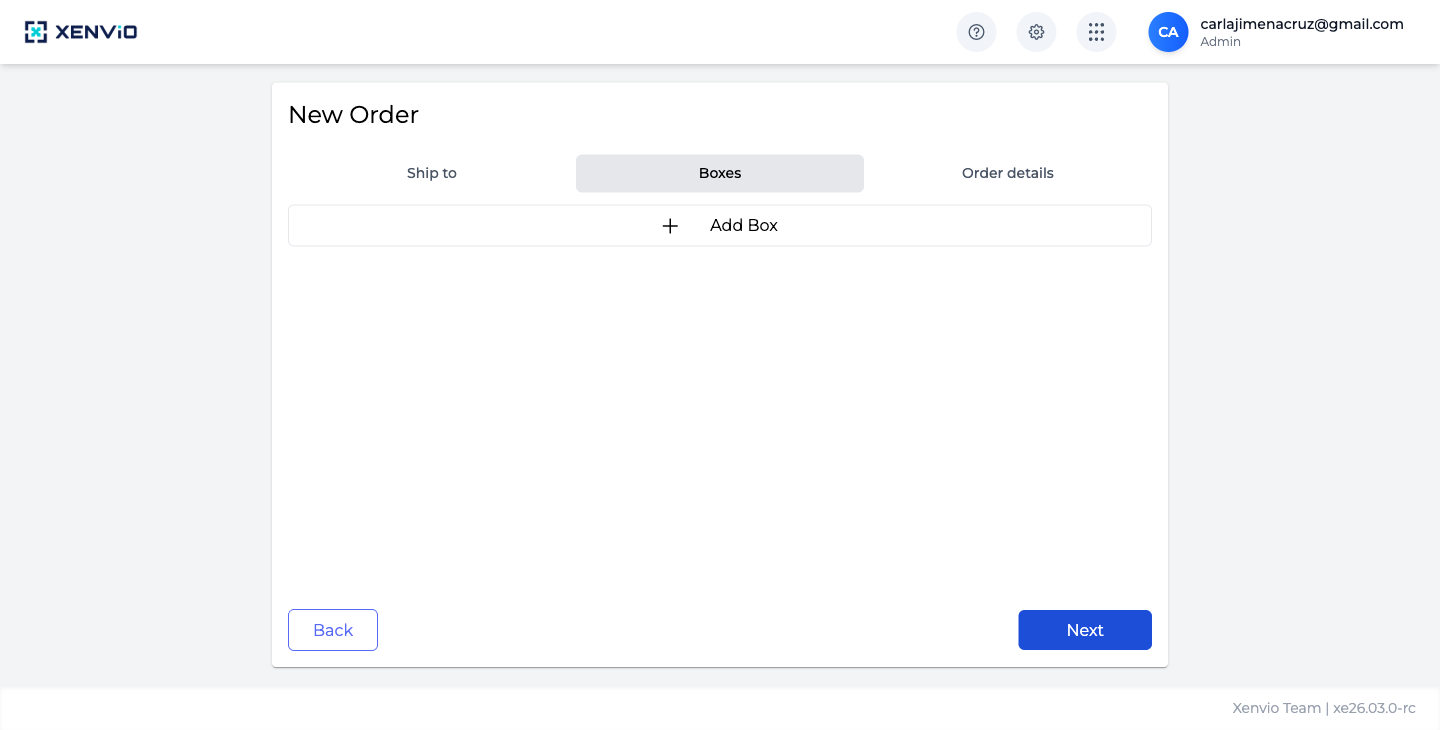
Add boxes that make up the order by clicking '+ Add Box'. Select package type and weight. You can add multiple boxes. If no boxes are needed, click Next to skip.
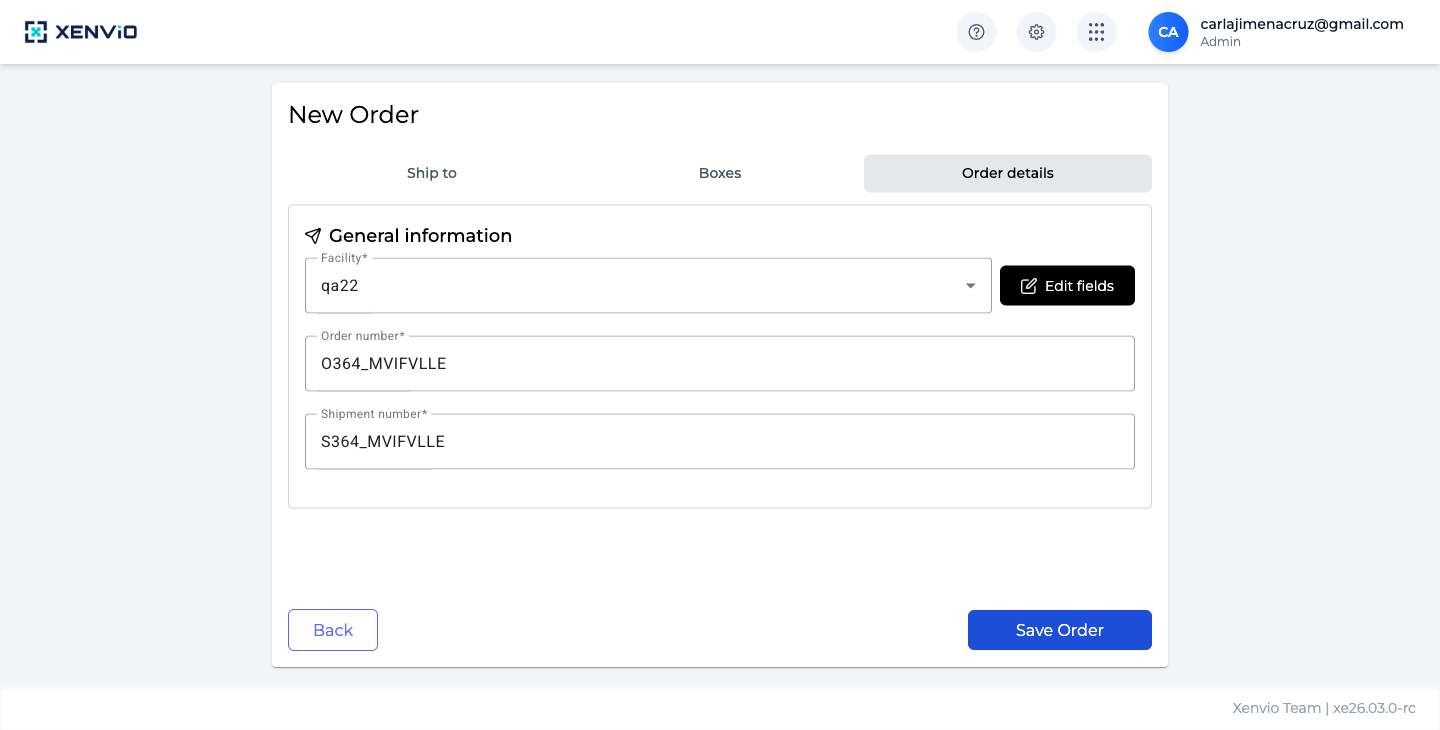
Select the Facility*, and review the auto-generated Order and Shipment numbers. Click 'Save Order' to save.
Demo completed!
1. Start a New Order
Section titled “1. Start a New Order”In Shipper View click + New Order (green button in the header).
2. Ship to — Recipient
Section titled “2. Ship to — Recipient”Fill in recipient details:
- Name: Recipient name (you can search your Address Book)
- Email (required): Email address
- Phone: Contact phone number
- Company: Company (optional)
Address:
- Use Parse address to paste a full address and auto-fill fields
- Or fill manually: Address 1, State, City, Country, and Zip
Click Next.
3. Boxes
Section titled “3. Boxes”Click + Add Box to add each box in the shipment. Select the package type (from your configured packages) and weight per box.
Click Next.
4. Order Details
Section titled “4. Order Details”- Facility (required): Select the warehouse processing this order
- Order number: Auto-generated (editable to match your system reference)
- Shipment number: Auto-generated
Click Save Order.